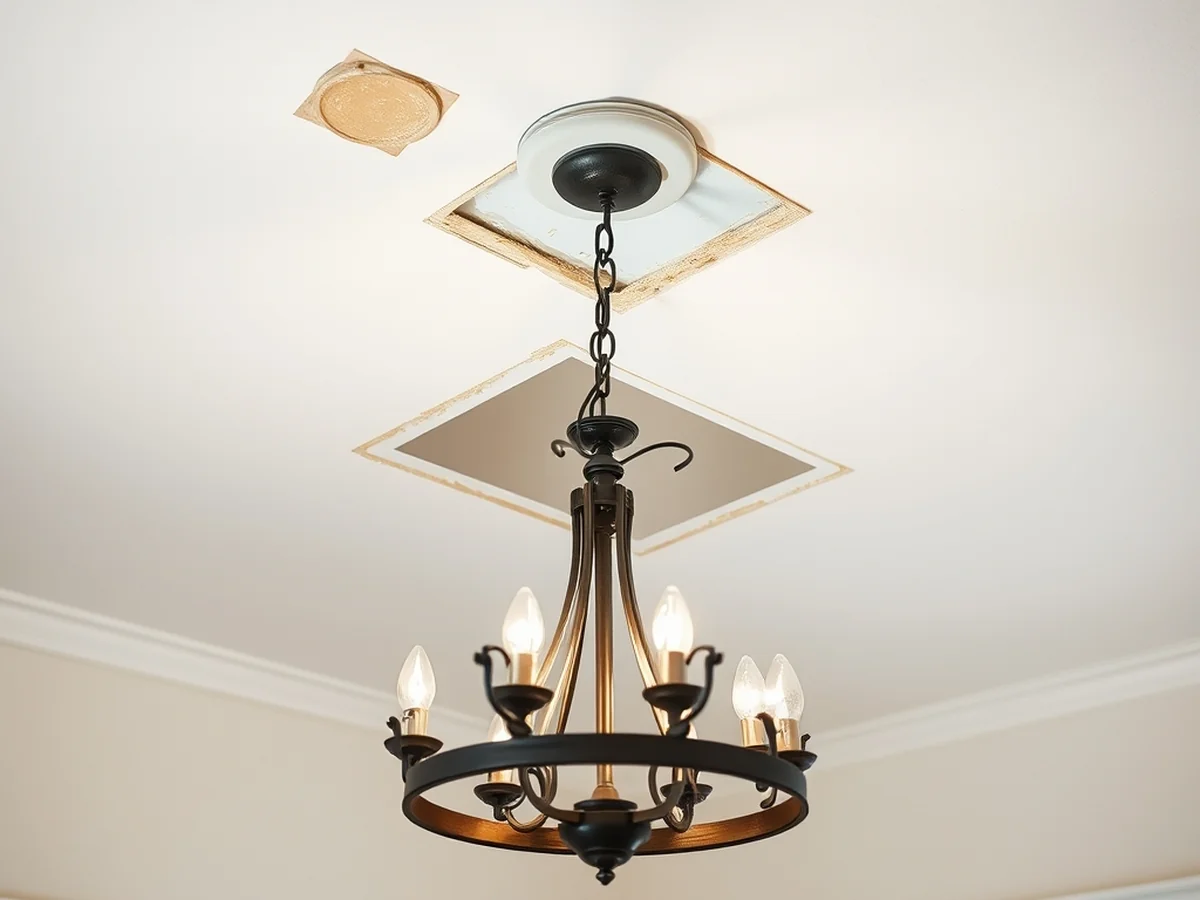
What to Do When the Ceiling Junction Box Is Not Centered Over the Dining Table
Introduction
Fixing an off center junction box chandelier requires balancing proper alignment with the room layout, especially since a dining room chandelier should be positioned 30 to 36 inches above the surface of the dining table according to safety standards from the University of Montana. When your ceiling wiring fails to line up with the exact center of your furniture, you do not necessarily have to tear open the drywall to achieve a balanced look.
This guide covers practical ways to resolve alignment issues ranging from simple cosmetic fixes to structural adjustments. You will learn how to use hardware solutions, manage electrical boxes safely, and maintain proper hanging heights for your dining space.
Solving Off-Center Chandelier Placement
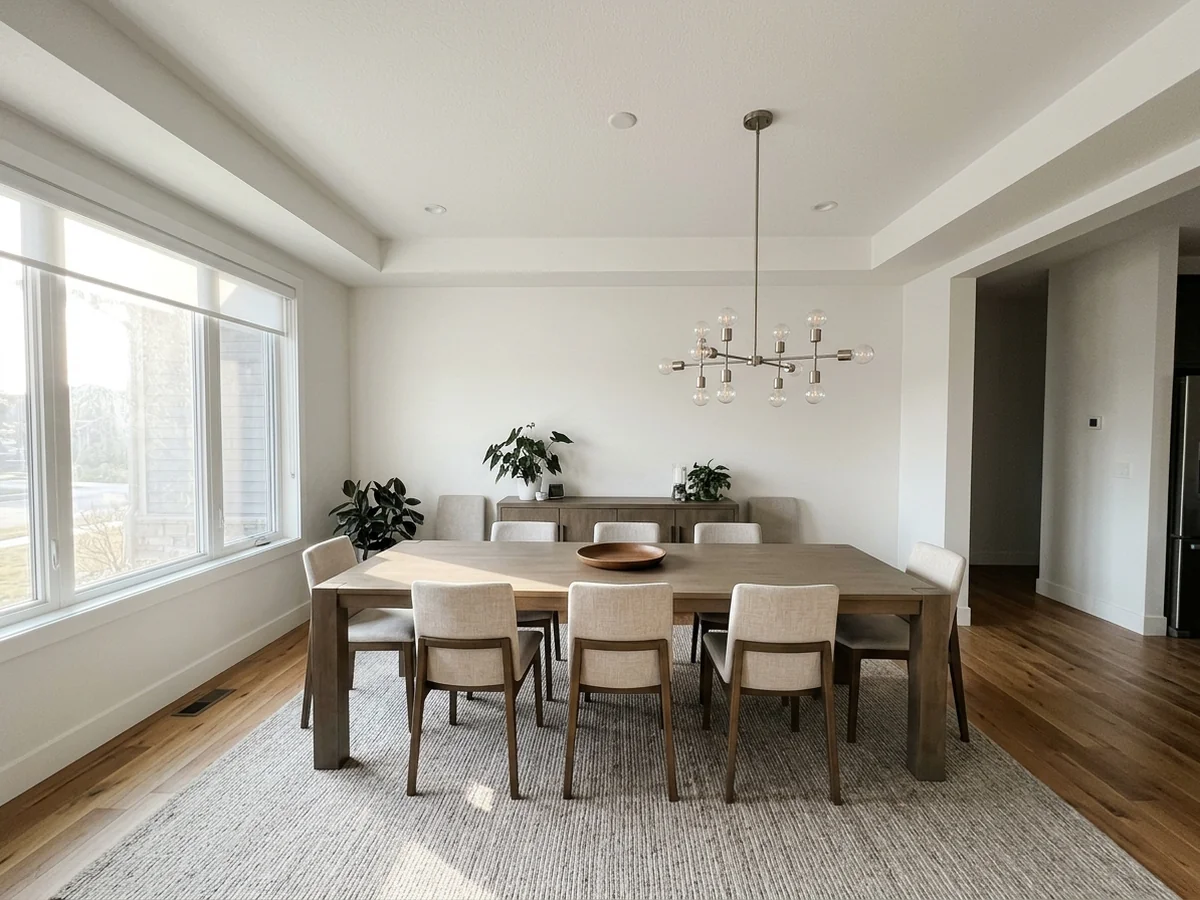
When your light source does not align with your dining table, it creates a visual imbalance that can disrupt the entire room. While a centered fixture is the hallmark of a polished dining space, many homes feature electrical layouts that do not correspond with specific furniture arrangements. This common frustration often occurs when builders install lighting before homeowners finalize their decor. Addressing an off-center junction box chandelier requires a careful balance between your aesthetic goals and necessary safety compliance.
Understanding Placement and Structural Safety
Symmetry creates a sense of order and intentionality. According to dining room chandelier placement guidelines, a fixture should be positioned 30 to 36 inches above the surface of the dining table to ensure optimal lighting and visual comfort. Beyond height, lateral alignment is critical. When planning a fix, you must prioritize the structural integrity of your ceiling. Common guidance suggests that standard ceiling hooks installed only in drywall are insufficient for supporting the weight of a chandelier, as these fixtures often require the firm backing of a ceiling joist or a specialized mounting bracket to prevent accidents.
DIY Methods for Alignment
If you are looking for how to center a light fixture without moving the junction box, consider these approaches:
- Swagging: This involves using a decorative chain and a swag hook to redirect the fixture toward the desired center point. When using swag light fixture instructions, ensure your hardware is rated for the weight of your specific chandelier.
- Ceiling Medallions: A large or ornate ceiling medallion for off center light can sometimes hide a minor offset, though this is primarily an aesthetic solution for small gaps.
- Spider Configurations: If your fixture supports multiple arms, you may be able to adjust the individual cables to create a more balanced visual footprint even if the central canopy remains offset.
Permanent Relocation
For a seamless, professional finish, moving electrical junction box for lighting is the most effective long-term solution. This process involves rerouting the wire through the ceiling joists to a new location. Because this task requires working with existing electrical wiring and ensuring the new box is properly secured to a joist to meet National Electrical Code (NEC) standards, it is often best handled by a licensed electrician. This route is particularly recommended if the chandelier is heavy or if you prefer a clean look without visible chains or swagging hardware.
Before finalizing your design, always verify that your chosen method follows local codes and supports the weight of the fixture. Whether you choose a decorative workaround or a structural adjustment, the objective is to achieve visual harmony while keeping your home safe and functional.
Why Junction Boxes Miss Center
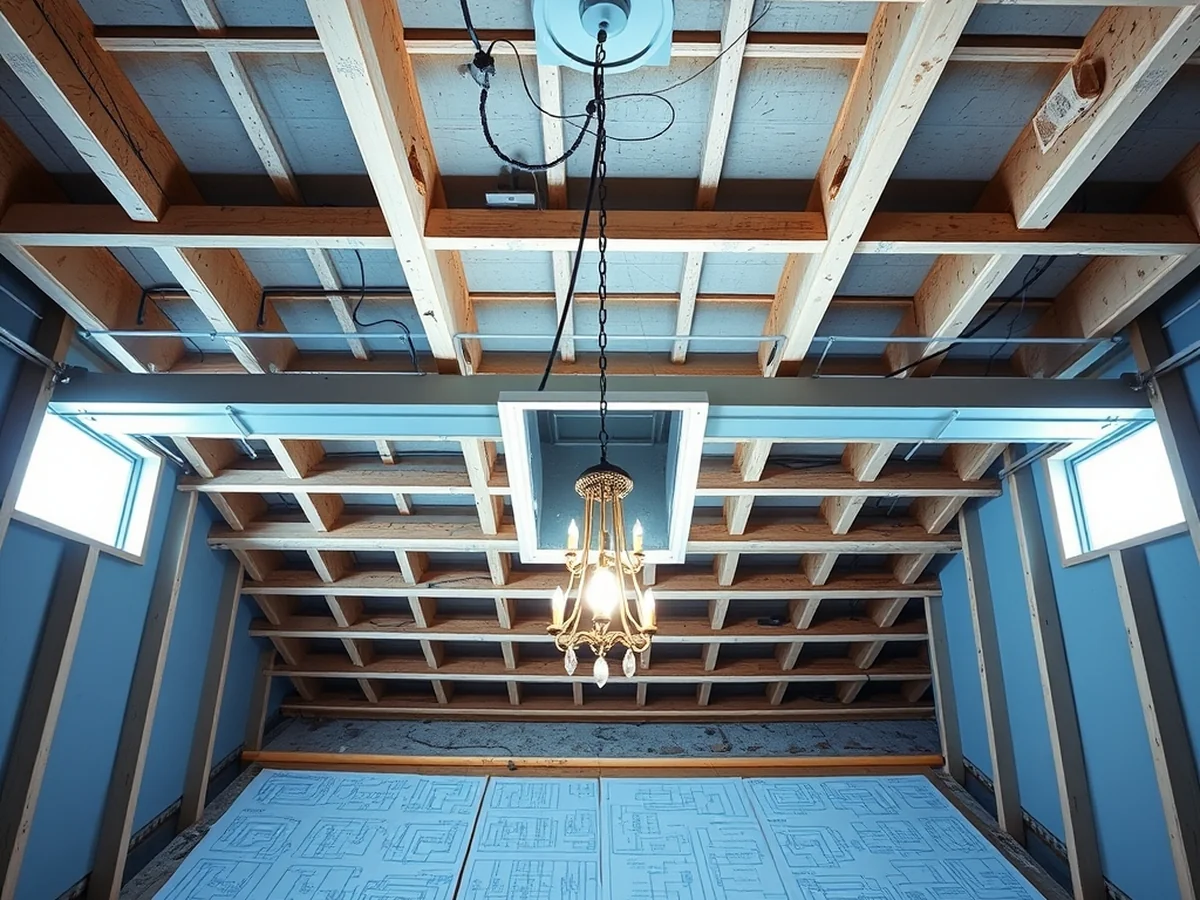
Builders often place ceiling junction boxes in the exact structural center of a room rather than aligning them with the dining table layout. Framing crews work from architectural blueprints that plot electrical wiring based strictly on room dimensions and structural grids, not on eventual furniture placement. When a dining table sits slightly off to one side to accommodate room flow, architectural quirks, or traffic paths, the existing wiring no longer matches the furniture below, leaving homeowners with an off center junction box chandelier dilemma.
An unaligned light fixture disrupts the visual balance of a dining space immediately. Human eyes naturally look for symmetry in interior design, especially when two focal points like a table and a hanging fixture compete for attention. If your lighting hangs askew from the furniture, the entire room can feel disjointed and messy.
Understanding the root cause helps clarify why this happens, but practical spatial standards govern how to fix the layout safely. Following proper dining room chandelier placement guidelines helps restore that crucial visual harmony. According to established standards, a dining room chandelier should be positioned 30 to 36 inches above the surface of the dining table (University of Montana). Getting this height right ensures the light anchors the furniture grouping properly, even if minor adjustments are needed to correct lateral alignment.
Homeowners frequently make common mistakes when trying to resolve this mismatch. A frequent error is assuming that standard ceiling hooks installed only in drywall are sufficient for supporting the weight of a chandelier. In reality, standard drywall anchors lack the load-bearing capacity required for heavy fixtures, which creates significant safety hazards. Another misstep involves skipping proper measurements, leading to awkward hanging heights that fail to interact correctly with the furniture surface below.
Recognizing these spatial dynamics allows you to approach the issue methodically. Whether you decide on professional wiring adjustments or non-destructive aesthetic fixes, knowing why the junction box is misaligned prevents you from making hasty structural mistakes during your home update.
The Swag Hook Method
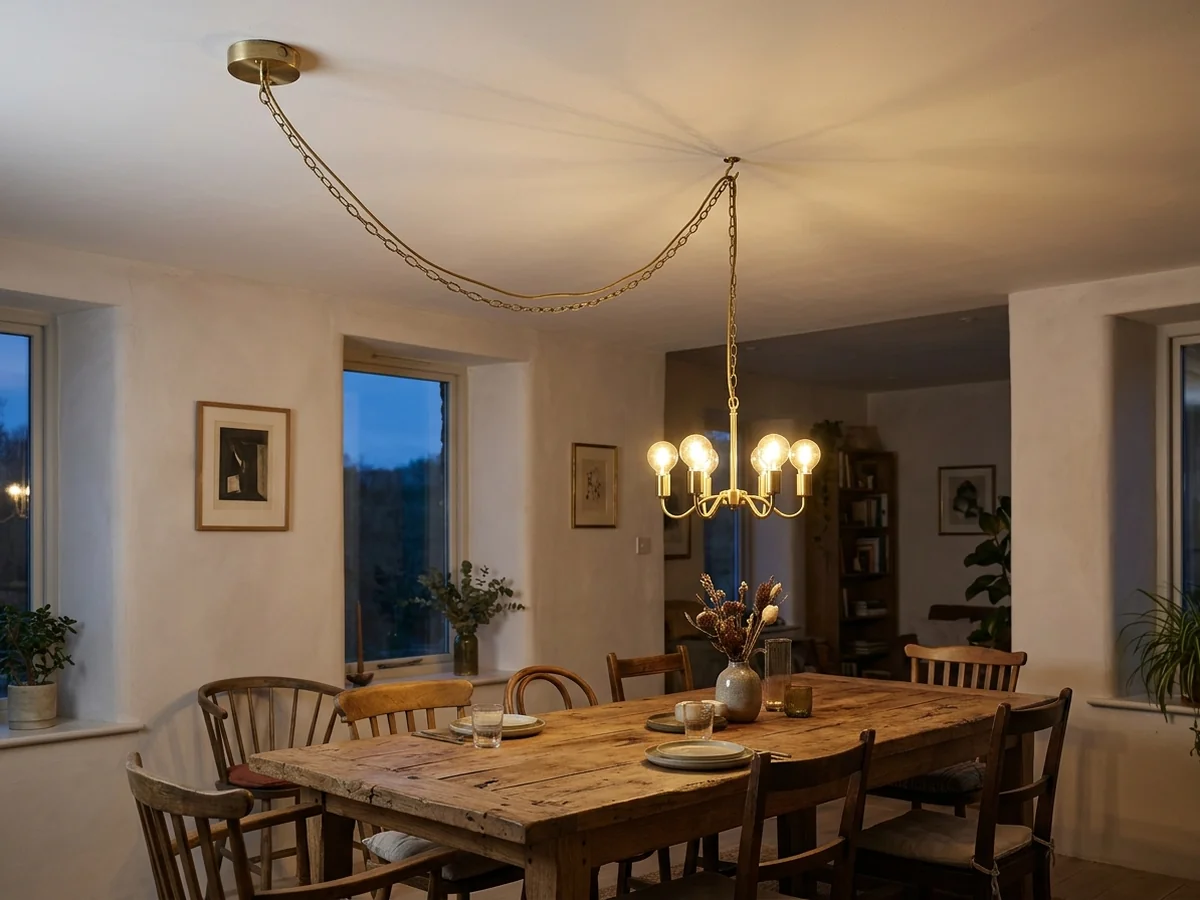
When you encounter an off center junction box chandelier, the swag hook method serves as an effective, non-destructive way to reposition your fixture. This technique allows you to shift the light horizontally so it hangs perfectly over your dining table without the need to cut into the ceiling or relocate the existing electrical box. By using a chain or cord to bridge the gap between the junction box and your desired focal point, you can achieve visual balance while keeping your electrical connections secure.
Safety and Structural Considerations
A common misconception is that you must always anchor a chandelier directly into a ceiling joist. While securing to wood is ideal for heavy fixtures, it is not the only safe path. The primary concern is the weight-bearing capacity of your hardware. Standard ceiling hooks installed only in drywall are insufficient for supporting the weight of a chandelier. Instead, use heavy-duty toggle bolts. These fasteners distribute weight across a wider surface area behind the drywall, providing a much higher load capacity than standard plastic anchors. Always check the weight rating of your specific chandelier against the specifications of your mounting hardware before installation.
Executing the Installation
To begin, determine the correct height for your fixture. Dining room chandelier placement guidelines state that a dining room chandelier should be positioned 30 to 36 inches above the surface of the dining table. Once you have established this height and the desired horizontal position, follow these steps:
- Mark the new position on the ceiling where you want the light to hang.
- Install a ceiling hook using a toggle bolt, ensuring it is rated for the total weight of your specific fixture.
- Test the anchor stability by applying firm downward pressure to the hook before attaching the light.
- Route the electrical cord or chain through the swag hook, adjusting the length until the bottom of the chandelier reaches the recommended 30 to 36 inch clearance from the table.
- Secure the cord with clips or decorative covers if necessary to maintain a clean aesthetic.
Refining the Aesthetic
If you find that the exposed cord looks cluttered, consider using a decorative ceiling medallion for an off center light. A large medallion can hide the original junction box cover while providing a more intentional, high-end appearance. If the aesthetic of a draped cord does not suit your space, you might also look into spider pendant configurations or lightweight fixtures that allow for adjustable arm extensions. Regardless of the method, ensure that the electrical canopy and cord are free from sharp pinching at the hook point. Regular inspection of the connection points will help maintain both the safety and the visual appeal of your dining room setup.
Using Decorative Medallions

When dealing with an off center junction box chandelier, homeowners often turn to architectural details to trick the eye. A ceiling medallion for off center light setups serves as a decorative focal point that masks displaced electrical components without requiring drywall repairs. By drawing attention upward to an intricate plaster or polyurethane design, the misalignment of the hanging fixture becomes far less noticeable against the ceiling.
Successful implementation requires careful planning regarding scale and material selection. Lightweight polyurethane models work well for straightforward cosmetic updates because they cut easily and glue securely to the ceiling surface. Plaster versions offer a more authentic traditional finish, but they demand much sturdier handling and proper mechanical fasteners during installation to prevent cracking.
A common mistake during this process is assuming that decorative elements provide structural support. Standard ceiling hooks installed only in drywall are insufficient for supporting the weight of a chandelier, meaning the fixture must still anchor securely to the electrical box or a proper ceiling joist regardless of whether a medallion covers the surrounding area. The medallion simply frames the electrical canopy, leaving the weight distribution entirely to the junction box and its associated framing.
When applying this technique in a dining space, proportion remains critical. Designers must balance the diameter of the medallion with the furniture layout below, keeping in mind that a dining room chandelier should be positioned 30 to 36 inches above the surface of the dining table according to spatial guidelines from the University of Montana. Choosing a medallion that overwhelms the light fixture or crowds the room can disrupt this visual harmony, so sizing the piece to match both the electrical canopy and the hanging fixture ensures a balanced aesthetic.
Relocating Electrical Boxes
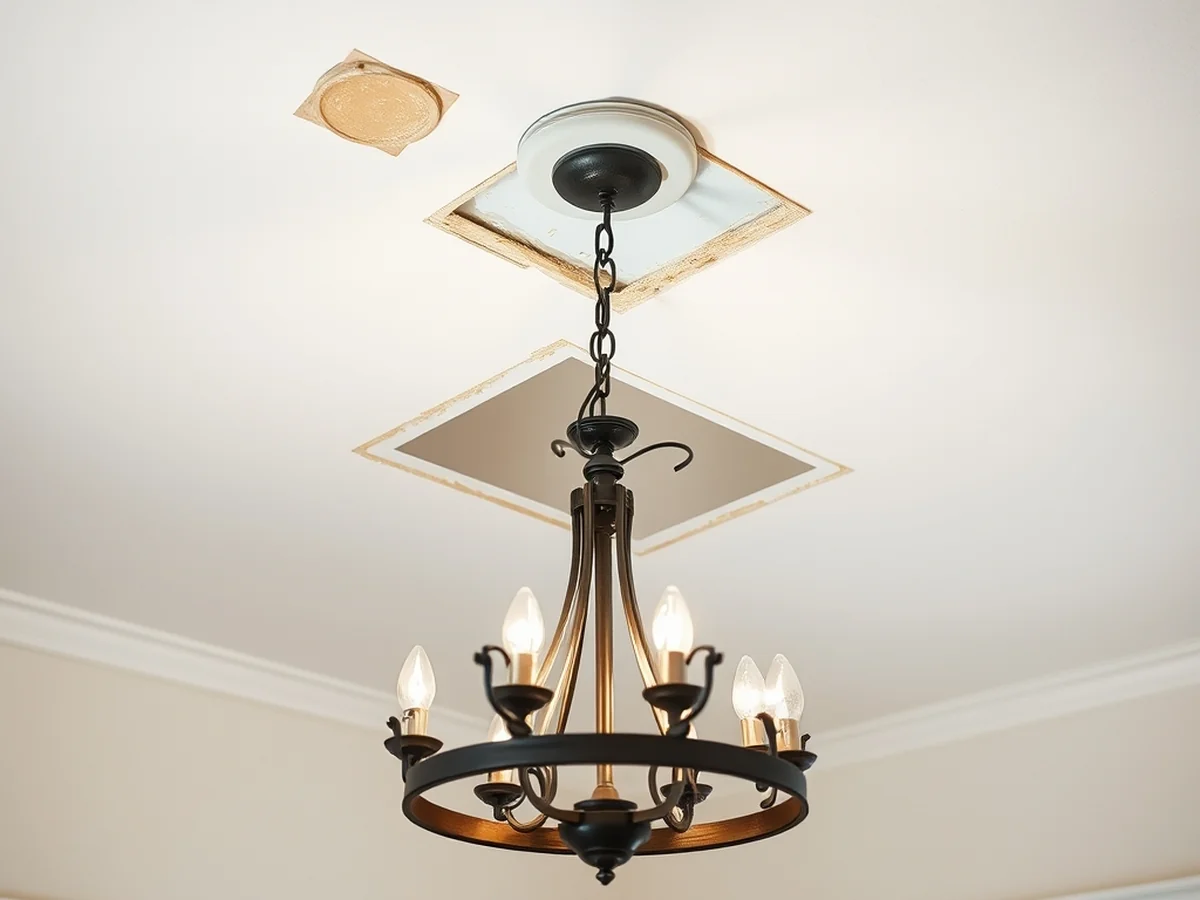
Dealing with an off center junction box chandelier often happens when architectural wiring does not match your room layout. To achieve the right visual balance and comfortable illumination, a dining room chandelier should be positioned 30 to 36 inches above the surface of the table. When your existing ceiling wiring misses this target zone by a wide margin, simple surface adjustments or decorative covers might not deliver the clean look you want for your space.
Structural Complexity of Moving Electrical Wiring
Moving an electrical junction box for lighting behind finished drywall introduces significant structural complexity. The process requires cutting precise access holes in the ceiling, fishing new wire through ceiling joists, and securing a brand new junction box directly to the framing members. Once the physical relocation is complete, patching the resulting holes demands careful taping, joint compound application, and sanding to match the surrounding ceiling texture seamlessly before painting.
National Electrical Code Compliance
Any structural or wiring alterations must strictly follow National Electrical Code standards to ensure permanent safety and compliance. These rules dictate that every electrical junction box must remain permanently accessible and securely mounted to structural supports rather than hidden behind unaccessible drywall. Bypassing these code requirements during a relocation creates serious fire hazards and code violations that can complicate future home safety and property sales.
Weight Support and Safe Installation Practices
When planning a fixture placement, it is generally advised that standard ceiling hooks installed only in drywall are insufficient for supporting the weight of a chandelier. Heavy light fixtures require direct attachment to a ceiling joist or an approved heavy duty brace box rated for ceiling fans and chandeliers. Standard drywall anchors or basic toggle bolts lack the required shear strength to hold heavy hanging metal and glass assemblies over time, which makes proper framing integration essential for preventing accidental ceiling failure.
Adjusting Chandelier Without Rewiring
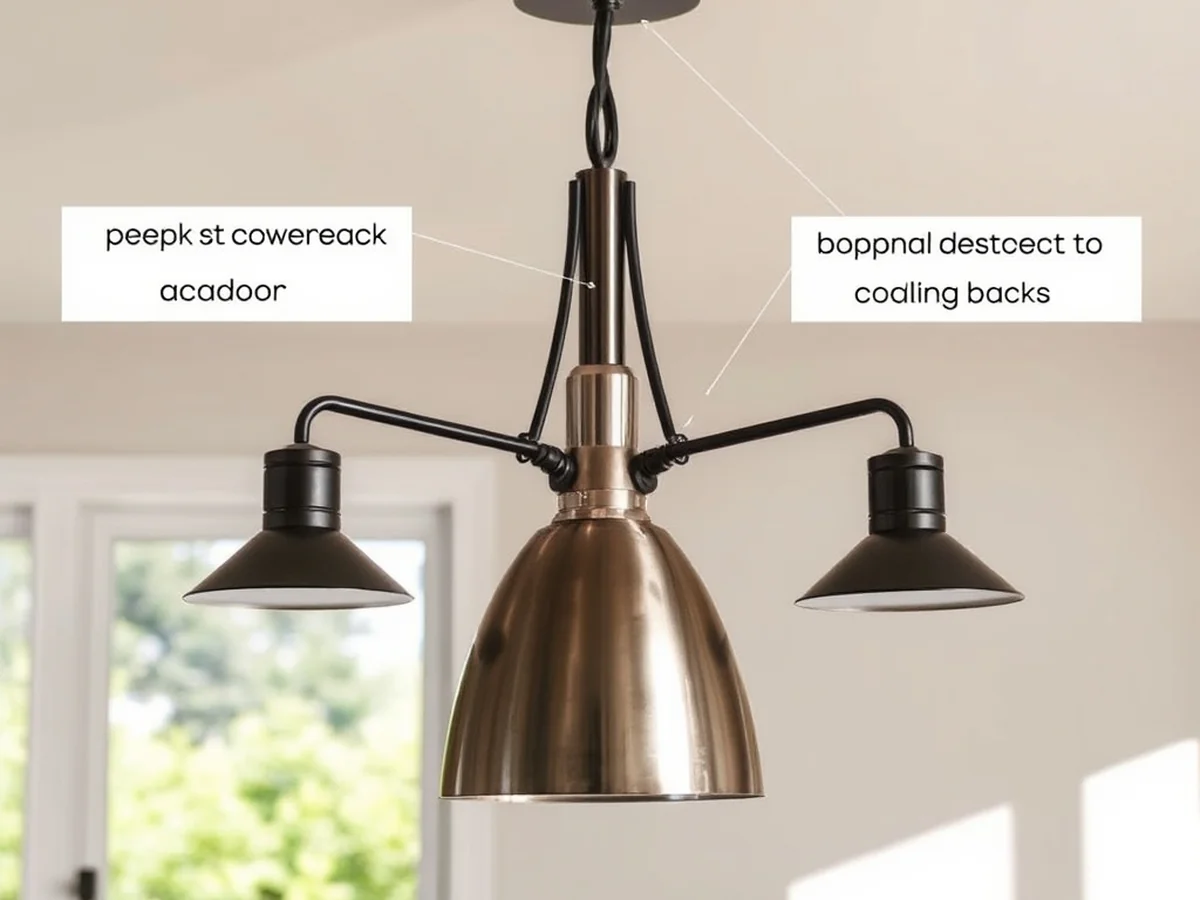
Fixing an off-center junction box chandelier without opening up your ceiling is entirely possible using specialized hardware systems and strategic design choices. When your lighting does not align properly over your furniture, you do not always need to hire an electrician to tear into the drywall. Understanding how to center a light fixture without moving the junction box saves time, money, and structural repairs while achieving a balanced look in your dining space.
Before beginning any alignment work, consider the recommended height for your lighting. According to official data from the University of Montana, a dining room chandelier should be positioned 30 to 36 inches above the surface of the dining table. Maintaining this clearance ensures proper functionality and visual harmony regardless of minor ceiling offsets.
Here are practical steps and methods to achieve a balanced look without rewiring:
- Use a swag hook and chain configuration: Route the electrical cord and supporting chain from your existing junction box to a swag hook placed directly over your table. While it is common practice to mount these into solid framing for security, standard ceiling hooks installed only in drywall are generally insufficient for supporting the weight of a heavy chandelier, so you must use appropriate hardware like toggle bolts to ensure safety.
- Install a ceiling medallion for minor offsets: A decorative ceiling medallion or an extended electrical canopy can physically bridge the gap between the original outlet box and the desired hanging location if the offset is only a few inches.
- Utilize spider pendant lighting: Spider pendant setups use multiple cords anchored at various points across the ceiling, allowing you to route power from a single junction box outward to a balanced formation directly above your table.
- Opt for track or monorail systems: Track systems and monorail setups let you attach power feeds to your existing electrical box and extend rigid or flexible rails to position the actual lighting fixtures wherever you need them.
- Leverage visual perception principles: If structural hardware adjustments are not feasible, shift the visual weight of the room using rugs, asymmetrical furniture arrangements, or wall art that distracts from the ceiling misalignment.
A common mistake during this process is failing to account for fixture weight. Always verify the weight capacity of any ceiling hook or toggle bolt before hanging a heavy lighting fixture. Taking shortcuts with weight limits or skipping secure anchors can lead to loose fixtures and safety hazards. By combining the right hardware strategy with correct dining room dimensions, you can achieve a flawless overhead lighting display without touching your electrical wiring.
Common Off-Center Installation Errors
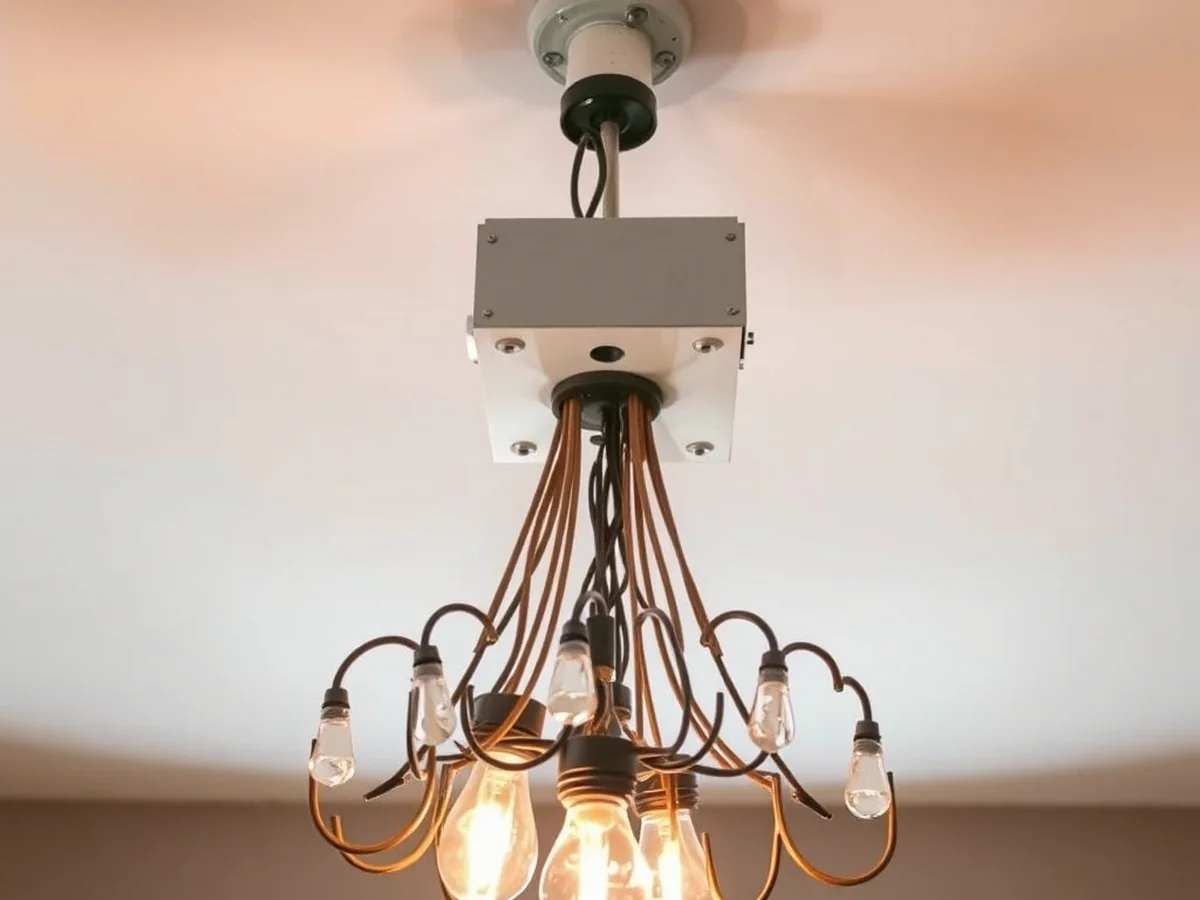
Fixing misaligned ceiling lights requires careful attention to structural support and electrical codes rather than quick aesthetic shortcuts. Avoiding hazardous installation mistakes keeps your dining area secure and prevents costly damage to your ceiling, especially when dealing with an off center junction box chandelier.
When working on an offset lighting arrangement, homeowners often run into trouble by skipping vital structural steps or ignoring standard recommendations for where to hang a fixture above the dining table. Following proper installation practices ensures that your fixture hangs securely without putting unnecessary stress on your electrical canopy or drywall.
- Common guidance dictates that standard ceiling hooks installed only in drywall are insufficient for supporting the weight of a chandelier. Relying solely on hollow wall material without a toggle bolt or proper reinforcement often leads to failure under continuous vertical loads.
- Ignoring weight limits for ceiling hardware can cause the mounting assembly to pull free unexpectedly during everyday use, creating a falling hazard over your furniture.
- Extending electrical cords improperly without proper housing, a junction box, or adherence to the National Electrical Code (NEC) creates serious shock and fire hazards.
- Failing to anchor suspension hardware properly compromises the safety of any offset lighting arrangement, making it essential to verify that every anchor connects to solid framing or an approved ceiling joist.
- Neglecting proper height planning is another frequent pitfall. A dining room chandelier should be positioned 30 to 36 inches above the surface of the dining table, and failing to measure this clearance before securing your swag light fixture instructions or hardware can leave the room feeling poorly proportioned.
To avoid these errors, always check the weight rating of your ceiling medallion or hanging hardware before installation. Taking the time to map out your lighting layout correctly ensures a secure setup that blends safety with everyday style.
When To Call Professionals
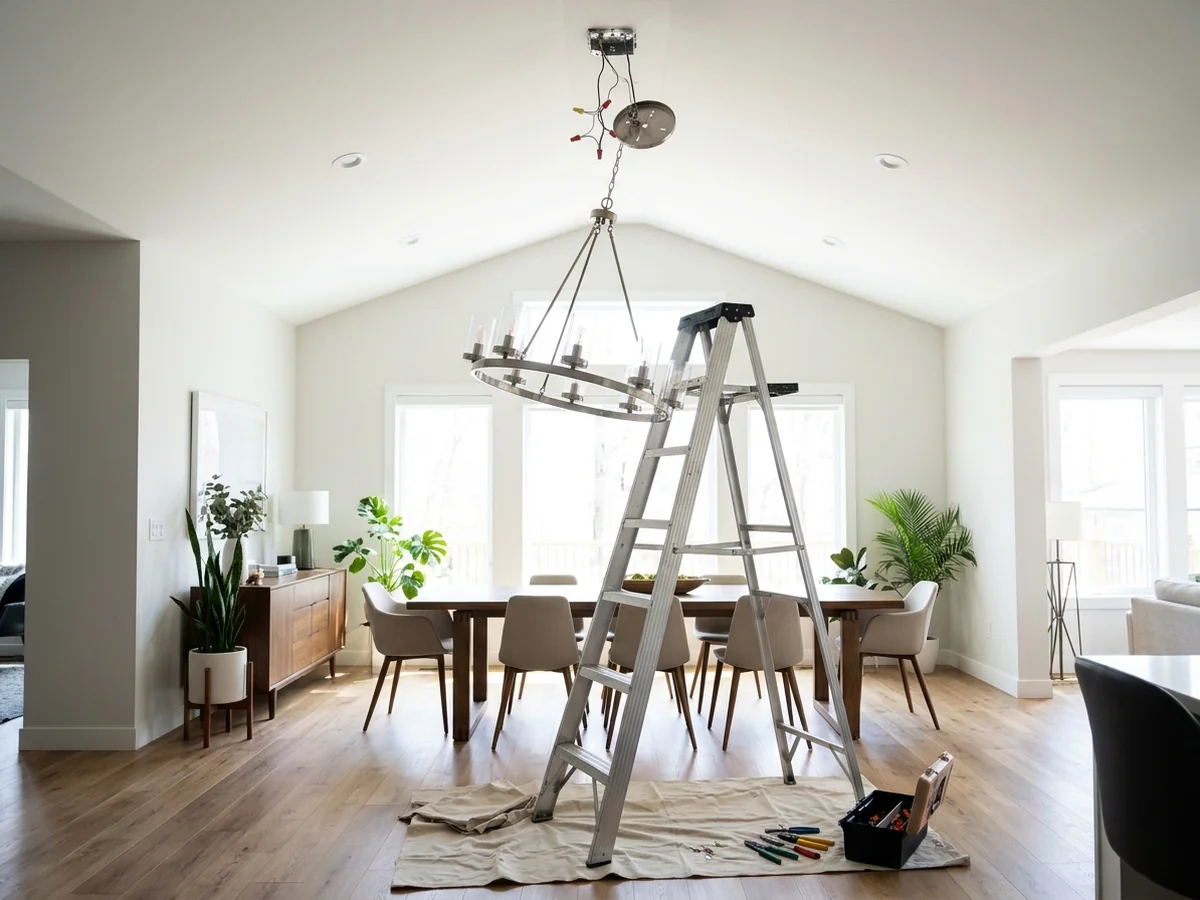
Homeowners often wonder if they can fix an off-center junction box chandelier without an electrician, especially when tackling dining room updates. While aesthetic styling and surface-level adjustments stay within do-it-yourself limits, electrical modifications demand specialized training to prevent hazards. Knowing when to step back and call a licensed professional protects both your household safety and your home infrastructure.
Structural Tasks and Code Requirements
You should hire a licensed electrician when dealing with structural electrical tasks. This includes cutting into drywall, routing new cables through ceiling joists, or altering existing circuit boxes. Working with hidden structural elements requires expert help because framing members often conceal unexpected wiring paths and plumbing lines. Piercing or notching these hidden supports incorrectly can compromise structural integrity.
When considering moving an electrical junction box for lighting, local building codes and inspections play a crucial role. Municipal authorities typically require permits and professional sign-offs for permanent wiring modifications. Unauthorized do-it-yourself rewiring can cause major complications during future property sales or insurance claims. If your project involves tampering with National Electrical Code guidelines regarding box placement or wire extension limits, bringing in a qualified technician ensures total compliance and safety.
Weight Support and Heavy Fixtures
Hanging heavy statement pieces introduces serious safety concerns regarding your ceiling architecture. Standard ceiling hooks installed only in drywall are insufficient for supporting the weight of a chandelier. If your light fixture is heavy, an electrician must install a properly rated brace or junction box directly to the framing members to prevent dangerous structural failures.
Measurement and Placement Standards
Professional assistance is also valuable when precise alignment over a dining table must be met during a complex room layout overhaul. According to research from the University of Montana, a dining room chandelier should be positioned 30 to 36 inches above the surface of the dining table. If relocating the wiring is the only way to achieve this exact clearance over an off-center dining table, a professional electrician should handle the line-voltage alterations.
FAQ
Can I fix an off-center light without an electrician?
You can easily correct an offset fixture yourself by using a swag hook or a decorative canopy kit. These methods let you adjust your off center junction box chandelier without cutting into the drywall or modifying electrical wiring.
Why is my chandelier hanging crooked?
Uneven hanging usually happens when the weight distribution along the chain or cords is unbalanced. Adjusting the mounting leveling screws or correcting a slanted swag hook will straighten the fixture.
Is a junction box always required for a light fixture?
Electrical codes mandate that all wire splices must be contained within a junction box for safety and fire prevention. You cannot legally wire a permanent ceiling light directly to a loose wire without an approved enclosure.
How far can you safely swag a chandelier from the box?
You can typically relocate a light fixture a few feet away from the original electrical box depending on cord length and ceiling strength. Keep in mind that a dining room chandelier should be positioned 30 to 36 inches above the surface of the dining table regardless of how far you swag it.
Do I need an electrician to move a junction box?
Hiring a licensed professional is strongly recommended if you want to completely relocate the electrical box to achieve proper alignment over your table. Professionals ensure the new box is securely fastened to a ceiling joist and compliant with the National Electrical Code.
Conclusion
The main decision point depends on whether you prefer a quick cosmetic fix or a permanent structural adjustment for your misplaced ceiling light. Weigh the complexity of patching drywall against the visual impact of an offset design before picking a method. Regardless of the aesthetic path you choose, remember that a dining room chandelier should be positioned 30 to 36 inches above the surface of the table to ensure your space remains balanced and properly illuminated.
Sources: cehsweb.health.umt.edu
You might also like: How to Stop Dining Room Chairs from Catching on the Bound Edges of Are